Gabe created a small custom butcher block and cabinet. He custom designed and built the poplar base cabinet and painted it to match existing cabinetry. To be green, he made the butcher block top out of some quality scrap mahogany 2x2s.

2x2 Mahogany Strips
Here he cut the 2x2s into strips about 7/16” wide by 2” tall. This dimension is less traditional for butcher blocks, but the client wanted a different look. Then he evened out the boards using a surface planer to create a smooth surface for assembly.

Gluing the strips together
Next he began to glue the strips together to form the block. He applied a ribbon of wood glue to each strip.

Nailing the strips together
After applying the glue. he nailed each strip to the last to create a secure “sandwich.” As the sandwich grew taller, he was careful to keep the finished side flush and smooth.
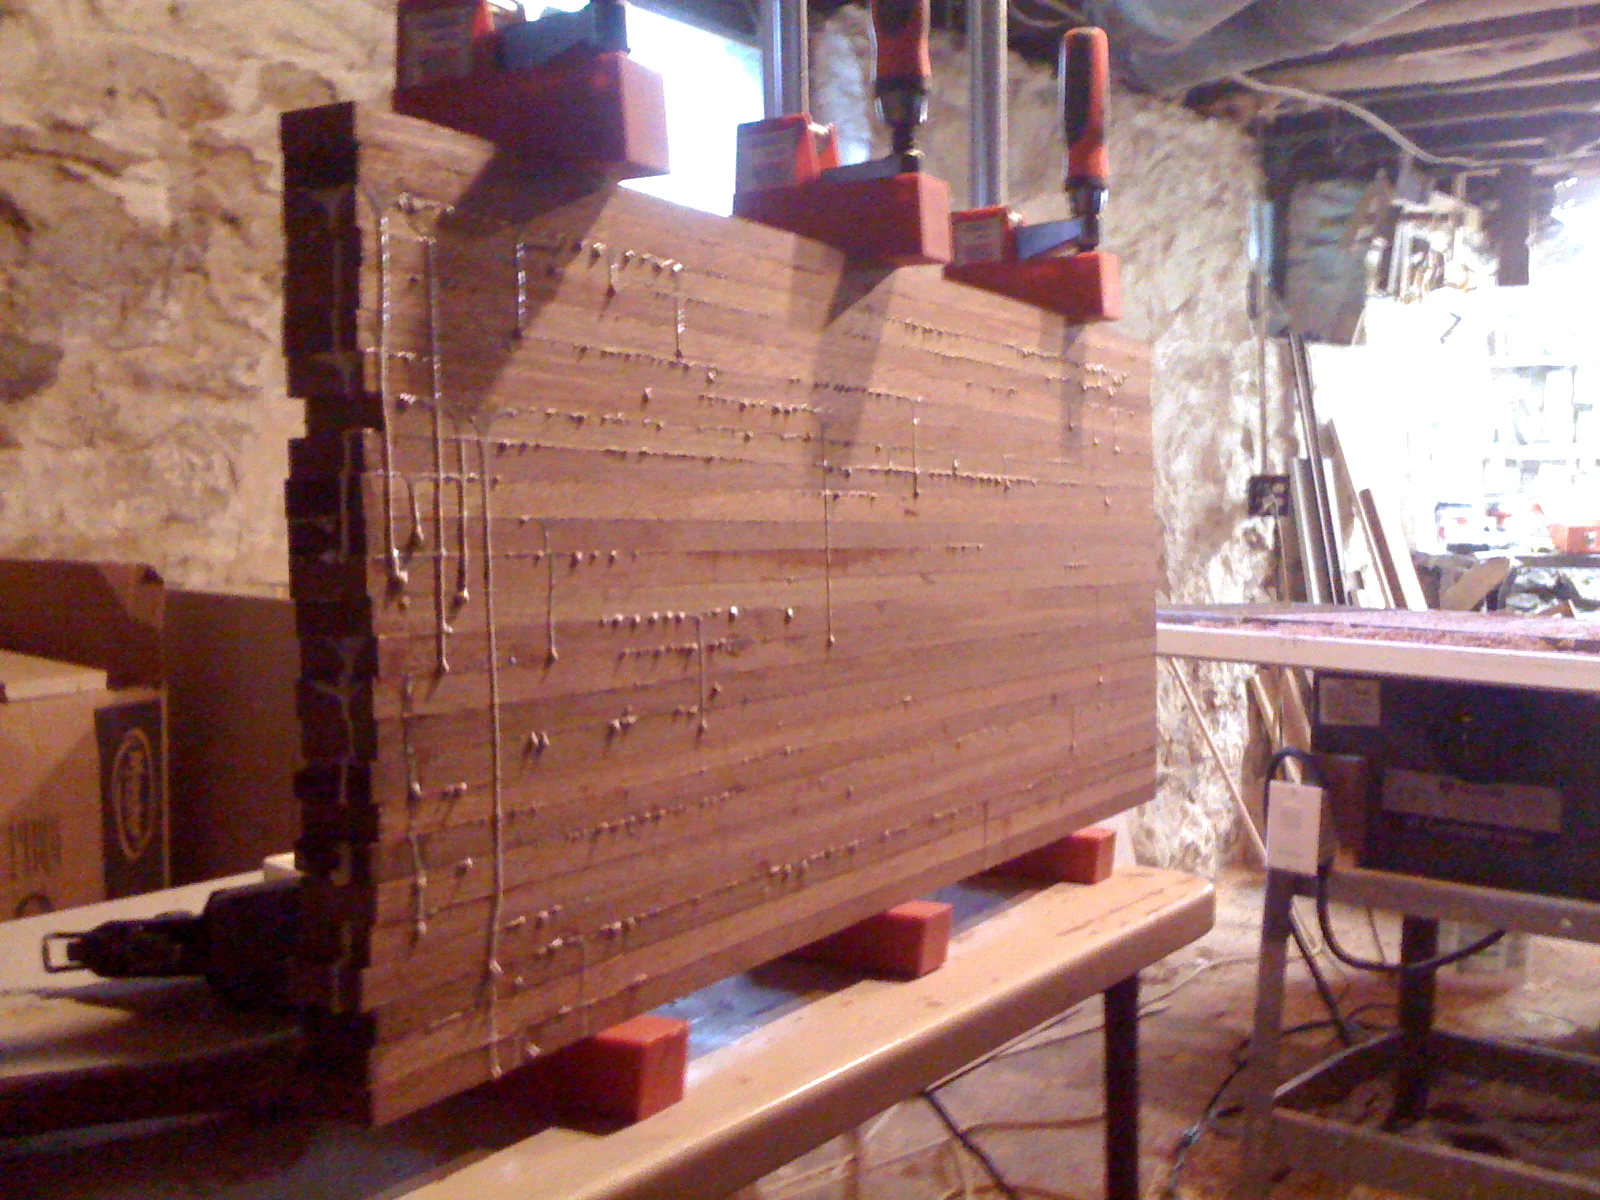
Curing under clamp pressure
Next, he clamped the freshly-glued butcher block and let it cure for 24 hours.

Smoothing the surface
Once the block cured for 24 hours in the clamps, he smoothed out the top using a belt sander. He checked his work with a framing square to make sure that the top was flat and true. He trimmed the edges last.

Oiled and installed
Here’s the butcher block top installed on top of the custom cabinet base. For the final finish, he liberally applied coats of butcher block oil. The block will need to be oiled regularly to help protect from stains and to bring out the rich luster of the mahogany.

Gabe installed the butcher block cabinet, and the client will use it as a little bar area in the kitchen.